
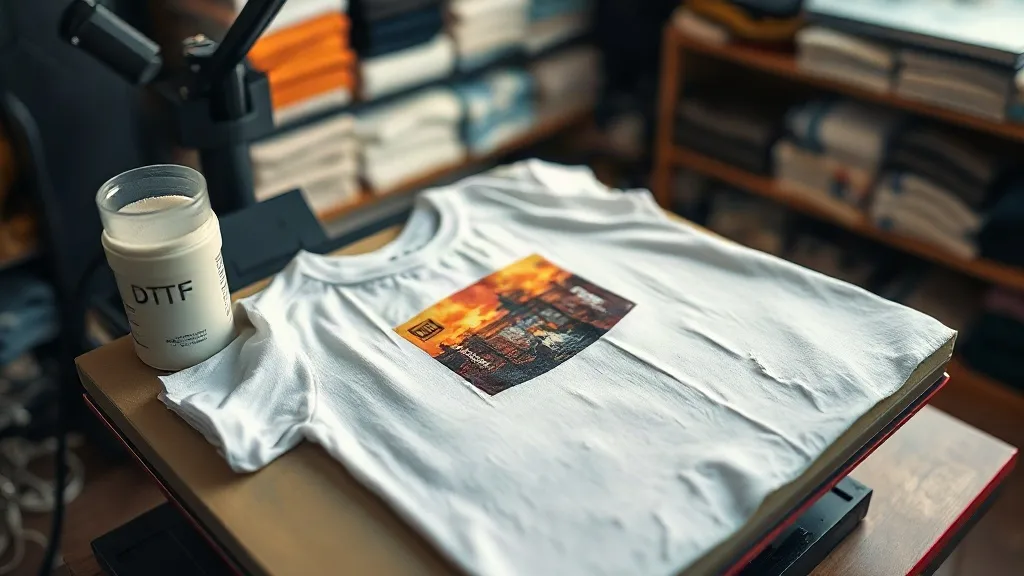
If you have spent any time in a print shop lately, you have probably noticed that dtf transfers have become a go-to method for decorating apparel. The process offers a flexible, cost-effective way to produce full-color designs on a wide range of fabrics without the setup costs of screen printing. But while the concept is straightforward, the execution is full of small details that separate a print that survives fifty washes from one that peels after the first. This guide walks through the entire DTF workflow, from selecting materials to pressing techniques, with a focus on the practical knowledge that actually matters on the shop floor.
Whether you are just starting out or looking to refine your existing process, understanding the interplay between film, powder, and press settings is essential. The dtf method is forgiving in some ways and unforgiving in others. Get the fundamentals right, and you will produce vibrant, durable prints consistently. Skip them, and you will spend your days troubleshooting mysterious defects.
Understanding the DTF Process
At its core, DTF printing involves printing a design onto a special film, applying a thermoplastic powder to the wet ink, and then curing the powder to create a transferable layer. The resulting transfer can be stored and later applied to fabric using a heat press. Unlike direct-to-garment printing, DTF does not require pre-treatment of the fabric, and it works on cottons, blends, and even some synthetics. The process is remarkably versatile, which is why it has gained such a strong following.
The key components are the film, the ink, and the powder. Each plays a critical role. The film must be dimensionally stable and release the print cleanly. The ink must be compatible with the powder and produce vivid colors. The powder must melt and flow properly to create a strong bond with the fabric. When all three work in harmony, the result is a soft, stretchable print that feels like part of the garment.
Film Selection
Not all DTF film is created equal. There are cold-peel and hot-peel films, each with its own characteristics. Cold-peel film is more common and allows the transfer to cool completely before peeling, which can yield a matte finish. Hot-peel film is peeled while still warm and can produce a glossier look. The choice depends on your preference and the desired outcome. Thickness also matters: thinner films conform better to textured fabrics, while thicker films may be more durable but can feel stiffer.
When sourcing film, look for products that are specifically designed for DTF. Using inkjet film not intended for the process can lead to poor ink absorption and powder adhesion issues. Reputable suppliers will specify the film's compatibility with DTF inks and provide guidelines for storage and handling.
Powder Application
The powder, often referred to as adhesive powder or hot-melt powder, is what allows the print to bond to the fabric. It is typically applied while the ink is still wet, either manually or with an automated shaker. The goal is to achieve an even coating that covers the entire printed area without excess. Too little powder and the print will not adhere properly; too much and you will get a rough, textured feel and potential cracking.
After powdering, the film is cured, usually with a heat gun or in an oven. The curing process melts the powder particles so they fuse together and to the ink. Proper curing is essential for wash durability. Under-cured powder will remain powdery and fail to bond, while over-curing can cause the film to warp or the powder to become brittle.
Preparing the Press
Once you have a cured transfer, the next step is pressing it onto the garment. The heat press is your most important tool, and its settings must be dialed in for the specific materials you are using. Temperature, pressure, and time are the three variables you control, and each has a profound effect on the final result.
Temperature
Most DTF transfers are pressed at temperatures between 300°F and 330°F (150°C to 165°C). The exact temperature depends on the film and powder specifications, as well as the fabric. For example, heat-sensitive fabrics like polyester require lower temperatures to avoid dye migration or scorching. Always consult the transfer supplier's recommendations and test on a scrap piece of fabric before committing to a production run.
It is also important to ensure that your heat press is accurately calibrated. Many presses have a temperature offset, and what reads as 320°F might actually be 300°F or 340°F. Using an infrared thermometer to check the platen temperature can save you from costly mistakes.
Pressure
Pressure ensures that the transfer makes intimate contact with the fabric, allowing the adhesive to penetrate the fibers. Medium to firm pressure is generally recommended, but the right amount depends on the press and the fabric. Too little pressure results in poor adhesion and a print that peels; too much pressure can cause the adhesive to squeeze out beyond the design, leaving a shiny outline, or flatten the fabric's texture.
Consistency is key. Use the same pressure setting for similar jobs and check it regularly. A pressure gauge on your press is helpful, but even without one, you can develop a feel for the correct setting by pressing a test transfer and inspecting the result.
Time
Press time typically ranges from 10 to 20 seconds. The dwell time must be long enough for the adhesive to melt and bond, but not so long that the fabric scorches or the print becomes overly glossy. Again, follow the transfer manufacturer's guidelines and adjust based on your testing.
It is worth noting that the peel method (hot vs. cold) also influences the final appearance. Cold peel, where you wait until the transfer is completely cool before removing the film, often yields a smoother, more matte finish. Hot peel, done immediately after pressing, can be faster but may leave a slightly different texture.
Step-by-Step Application
To ensure consistent results, follow a standardized procedure for every transfer. Here is a reliable sequence that works for most DTF transfers:
- Preheat the garment: Press the garment for a few seconds to remove moisture and wrinkles. This step also helps the fabric accept the transfer more evenly.
- Position the transfer: Place the transfer on the garment with the printed side down. Use heat-resistant tape if necessary to hold it in place.
- Press: Apply the recommended temperature, pressure, and time. Use a protective sheet or parchment paper over the transfer to prevent sticking to the upper platen.
- Peel: Follow the film's peel instructions (hot or cold). Peel smoothly and consistently, ideally in one motion.
- Post-press (optional): Some operators recommend a second short press with a protective sheet to smooth the print and ensure maximum adhesion. This can be especially helpful for prints on textured fabrics.
After peeling, inspect the print for any defects. Look for areas where the adhesive may not have bonded, or where the film did not release cleanly. If you spot issues, you may be able to re-press the transfer (if it is still warm) or adjust your settings for the next attempt.
Troubleshooting Common Issues
Even with careful preparation, problems can arise. Here are some of the most common issues and their solutions.
Print Peeling After Wash
If the print peels after washing, the most likely cause is insufficient adhesion. This can result from too little pressure, too low temperature, or under-cured powder. Ensure that your press is applying even pressure across the entire platen and that the temperature is accurate. Also, verify that the powder was fully cured before pressing. In some cases, washing the garment inside out in cold water and avoiding harsh detergents can extend the life of the print.
Cracking
Cracking occurs when the print is stretched or when the adhesive layer is too thick or brittle. Using too much powder can lead to a thick, inflexible layer that cracks when the fabric moves. Reducing powder application and ensuring even coverage can help. Additionally, pressing at the correct temperature and time allows the adhesive to flow properly and form a flexible bond.
Dull or Faded Colors
If colors appear dull, it may be due to insufficient ink coverage or improper curing. Ensure that your printer is producing a dense white layer (if using white ink) and that the color profile is correct. Over-pressing can also cause colors to fade, so check your temperature and time.
Film Not Releasing
If the film does not release cleanly from the print, it may be due to insufficient cooling (for cold peel) or too low a temperature. Allow the transfer to cool completely before peeling, and ensure that the press temperature is within the recommended range. Sometimes, a slightly longer press time can help the film release more easily.
Choosing the Right Transfer for Your Needs
When sourcing dtf transfers near me, consider the specific requirements of your project. Different suppliers offer varying film types, powder grades, and ink formulations. It is worth requesting samples to test before committing to a large order. Look for transfers that are known for their durability and color vibrancy, and check reviews from other professionals.
If you are producing transfers in-house, invest in quality consumables. Cheaper film and powder may save money upfront but can lead to more failures and wasted time. Establishing a relationship with a reliable supplier can also provide you with technical support and consistent quality.
Scaling Up Production
As your volume increases, efficiency becomes critical. Consider automating powder application with a shaker unit, which ensures even coverage and reduces waste. Organize your workflow so that printing, powdering, and pressing are separate stations, minimizing bottlenecks. Keep a log of settings for different fabrics and designs so you can replicate success.
Regular maintenance of your equipment is also essential. Clean your print heads, check your press for even pressure, and store film and powder in a cool, dry place to prevent degradation. By treating your DTF process as a system, you can achieve consistent, high-quality results that keep customers coming back.
Frequently Asked Questions
Can I use DTF transfers on 100% polyester?
Yes, DTF transfers work well on polyester, but you need to be mindful of temperature. Polyester is heat-sensitive and can scorch or exhibit dye migration at high temperatures. Use a lower press temperature (around 300°F) and test on a scrap first. Some polyester fabrics may require a barrier sheet to prevent dye from sublimating into the transfer.
How long should I wait before washing a garment with a DTF transfer?
It is best to wait at least 24 hours after pressing before washing. This allows the adhesive to fully set and bond with the fabric. When washing, turn the garment inside out and use cold water on a gentle cycle. Avoid using bleach or fabric softeners, and tumble dry on low or hang dry.
What is the difference between hot peel and cold peel DTF film?
Hot peel film is designed to be peeled immediately after pressing while the transfer is still warm. It can be faster and may produce a slightly glossier finish. Cold peel film requires the transfer to cool completely before peeling, which often results in a smoother, more matte finish. The choice depends on your preference and the specific film's instructions.
Can I layer DTF transfers?
Layering is possible but requires care. Press the first transfer, peel it, then position the second transfer and press again. Use a protective sheet to avoid damaging the first print. Keep in mind that layering adds thickness and may affect stretchability. It is often better to design the artwork as a single transfer if possible.
How do I store unused DTF transfers?
Store unused transfers in a cool, dry place away from direct sunlight. Keep them flat to prevent curling. If you are in a humid environment, consider using a dehumidifier or storing them in sealed bags with desiccant packs. Proper storage ensures the transfers remain usable for months.