
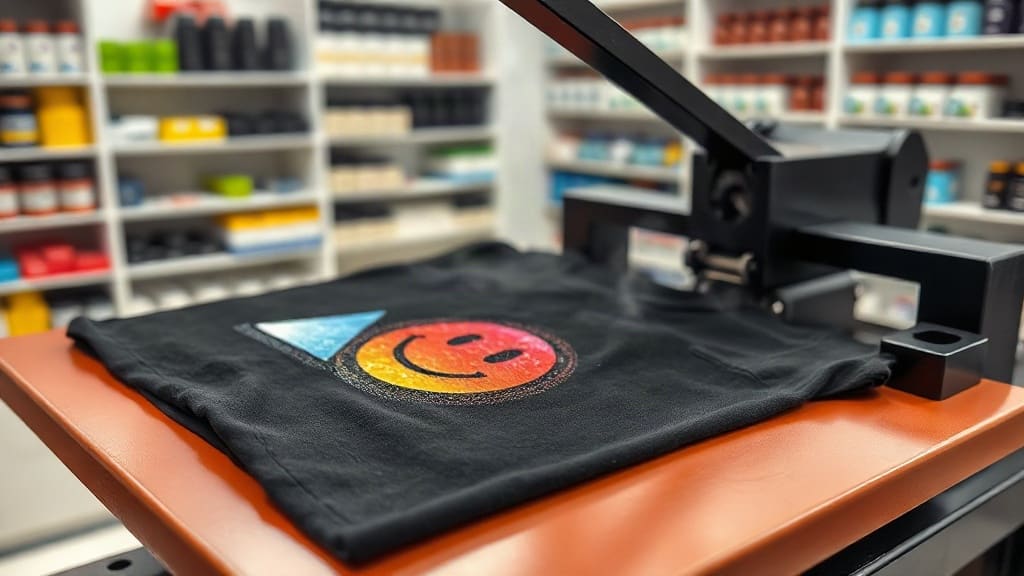
DTF transfers have taken the custom printing industry by storm, offering a versatile and cost-effective way to create vibrant designs on fabric. Whether you're a small business owner, a hobbyist crafter, or a printing professional, understanding DTF transfers can open up a world of possibilities. In this comprehensive guide, I'll walk you through everything you need to know, from the basics to advanced troubleshooting, based on real experience and industry insights.
What Are DTF Transfers?
DTF (Direct to Film) transfers are a method of printing designs onto a special film, which is then heat-pressed onto fabric. Unlike traditional heat transfer vinyl (HTV) which requires cutting and weeding each color, DTF printing prints the entire design in full color onto the film, including white ink as a base. Once printed, the film is coated with adhesive powder, cured, and then transferred to the garment using a heat press.
The result is a soft, durable, and highly detailed print that can be applied to a wide range of fabrics, including cotton, polyester, blends, and even performance materials. This flexibility makes DTF transfers an attractive option for both production and on-demand printing.
How Does DTF Printing Work?
The DTF process involves several steps, each crucial for achieving high-quality results. Here's a breakdown:
- Design Preparation: The design is created using graphic design software, with CMYK plus white ink channels. The white ink layer is essential to ensure colors pop on dark fabrics.
- Printing: The design is printed onto a PET film using a DTF printer equipped with special inks and a white ink circulation system. The printer lays down the colors, then the white ink as a base layer.
- Powder Application: While the ink is still wet, an adhesive powder is applied to the printed film. This powder sticks to the wet ink, creating a strong bond that will later attach to the fabric.
- Curing: The film is passed through a curing oven or heat press to melt the powder into the ink, forming a cohesive adhesive layer. This step ensures the transfer will stick effectively.
- Transfer: The cured film is placed on the fabric (powder side down) and heat-pressed at the correct temperature and pressure for a specified time. The heat activates the adhesive, transferring the design onto the garment.
- Peeling: After pressing, the film is peeled away, leaving the vibrant design on the fabric. Hot peel or cold peel is used depending on the film type.
This process may sound complex, but with the right equipment and practice, it becomes routine. Many businesses find DTF transfers to be more efficient than other methods because it eliminates the need for weeding and allows for intricate, multi-colored designs.
Why Choose DTF Transfers?
There are several reasons why DTF transfers have become a favorite among printers:
- Versatility: DTF transfers can be applied to a wide range of fabrics, including cotton, polyester, nylon, and blends. This makes them ideal for t-shirts, hoodies, tote bags, and even corporate wear.
- Durability: The prints are highly resistant to cracking, fading, and peeling, even after numerous washes. I've personally tested DTF prints on shirts that have been washed dozens of times, and they still look great.
- Soft Hand Feel: Unlike some other transfer methods, DTF transfers have a minimal hand (the feel of the print on the fabric). The design is soft and flexible, making it comfortable to wear.
- Full Color and Detail: DTF printing can reproduce complex graphics with gradients, shadows, and fine lines that are difficult to achieve with HTV or screen printing. This is a game-changer for photorealistic designs.
- Cost-Effective for Small Runs: Because there's no setup cost for screens (as in screen printing), DTF transfers are perfect for small batches, one-off prints, and on-demand orders. You can print as few as one shirt without breaking the bank.
DTF Transfers vs. Other Methods
To fully appreciate DTF transfers, it's helpful to compare them to traditional methods:
DTF vs. Screen Printing
Screen printing is known for its durability and vibrant colors, but it requires significant setup time and cost. For small orders, screen printing is often impractical. DTF transfers offer a lower barrier to entry, allowing you to print full-color designs without the need for screens. However, for very large quantities, screen printing may still be more economical per piece.
DTF vs. Vinyl (HTV)
HTV is limited to solid colors and requires cutting and weeding, which is time-consuming and limits design complexity. DTF transfers can handle full-color designs with no weeding, making it easier and faster to produce custom items. Additionally, DTF prints have a softer feel compared to most vinyl.
DTF vs. Direct-to-Garment (DTG)
DTG printing directly prints onto the garment, but it can be slow for bulk orders and may require pre-treatment for certain fabrics. DTF transfers, on the other hand, can be printed in batches and stored for later use, allowing for faster production when orders come in. DTF also works well on polyester, while DTG is best for cotton.
How to Apply DTF Transfers Like a Pro
Getting a perfect transfer requires attention to detail. Here are steps and tips based on my experience:
What You'll Need
- Heat press (or a high-quality iron for small projects)
- DTF transfer film
- Fabric (cotton or blend recommended)
- Teflon sheet or parchment paper to protect the press
Step-by-Step Application
- Preheat the garment: Press the fabric for a few seconds to remove moisture and wrinkles. This helps the transfer adhere better.
- Position the transfer: Place the DTF film on the garment with the powder side facing down. Use a ruler for precise placement.
- Use a Teflon sheet: Cover the transfer with a Teflon sheet to prevent direct contact with the heat press and to protect the film.
- Press: Apply firm pressure (usually medium to firm) at a temperature between 320°F and 340°F (160°C to 170°C) for 15 to 20 seconds. The exact settings depend on the film manufacturer, so always check their recommendations.
- Peel: Some films require hot peel, others cold peel. For hot peel, carefully peel the film immediately while it's still hot. For cold peel, wait until it cools down completely. Always test on a scrap piece first.
- Post-press: For added durability, you can do a second press with a Teflon sheet for 5 to 10 seconds to seal the edges.
One common mistake is using too high a temperature, which can cause the adhesive to bleed or the film to warp. I recommend keeping a log of your settings for different fabrics to ensure consistency.
Tips for Perfect DTF Transfer Results
Over the years, I've learned several tips that can make a big difference in the final output:
- Use high-quality film and ink: Cheap materials often lead to poor adhesion and faded prints. Invest in reputable brands to ensure longevity.
- Calibrate your printer: Regularly run test prints to ensure colors are accurate and white ink is applying evenly.
- Adjust for fabric type: For stretchy fabrics like spandex, use a lower temperature and a longer press time to prevent cracking. For heavy cotton, you might need a bit more pressure.
- Pre-press to remove moisture: Especially important in humid climates, as moisture can interfere with adhesion.
- Store printed films properly: If you plan to use them later, keep them in a cool, dry place away from direct sunlight to prevent the adhesive from degrading.
Creative Uses for DTF Transfers
One of the best things about DTF transfers is the creative freedom they offer. Here are some ideas to inspire you:
- Custom apparel for small businesses or events
- Personalized gifts like custom tote bags, aprons, or pillowcases
- Team uniforms and sports jerseys
- Corporate merchandise with logos and slogans
- Limited edition art prints on fabric
- Upcycling old clothes with fun patches
Since DTF transfers can be applied to both light and dark fabrics, you can experiment with various color combinations and design placements. The possibilities are virtually endless.
Troubleshooting Common DTF Issues
Even with the best techniques, issues can arise. Here are some common problems and solutions:
Poor Adhesion
If the transfer doesn't stick well, check your pressure and temperature. Increase the press time slightly or use a higher temperature (within safe limits). Also, ensure the fabric is clean and free of any residues.
Cracking or Peeling
This is often caused by low-quality film or incorrect pressing. Make sure you're using a film designed for the fabric type and that you're not under-curing the powder. Also, avoid washing the garment in hot water or using harsh detergents.
Faded Colors
If the colors look dull, it might be due to insufficient white ink layer or incorrect color management. Check your printer settings and do a nozzle check. Also, ensure the white ink is fresh and properly mixed.
Ink Bleeding
Bleeding can occur if the ink is not fully cured before pressing. Increase the curing time or temperature slightly. Also, avoid pressing too long, which can cause the ink to spread.
Frequently Asked Questions About DTF Transfers
Can DTF transfers be used on any fabric?
Yes, DTF transfers are compatible with most fabrics including cotton, polyester, blends, and even nylon. However, for performance fabrics like those with moisture-wicking properties, it's crucial to test first as some may require special handling to ensure adhesion.
How many washes can a DTF transfer last?
With proper application and care, DTF transfers can last for 40-60 washes or more. To extend longevity, wash garments inside out in cold water and avoid tumble drying on high heat.
Do I need a special printer for DTF transfers?
Yes, you'll need a DTF printer that supports white ink. Many users convert existing Epson or other printers, but there are also dedicated DTF printer models available. The key is having a robust white ink circulation system to prevent clogging.
Can I use DTF transfers with a home iron?
While it's possible to use a home iron, it's not recommended because consistent pressure and temperature are hard to achieve. For best results, invest in a heat press. If you must use an iron, make sure to use firm pressure and move it slowly over the entire design.
Are DTF transfers eco-friendly?
DTF printing is relatively eco-friendly compared to screen printing, as it uses less water and produces less waste. However, the films and powders are not biodegradable, so it's important to dispose of waste responsibly. Some manufacturers are developing more sustainable options, so look for those if environmental impact is a concern.
Final Thoughts
DTF transfers have truly revolutionized the way we approach custom printing. They offer an unbeatable combination of quality, versatility, and cost-effectiveness, making them a top choice for both beginners and seasoned professionals. By understanding the process and applying the tips shared in this guide, you can produce stunning, durable prints that will impress your customers and elevate your brand.
Whether you're just starting or looking to expand your printing capabilities, DTF transfers are definitely worth exploring. With practice and experimentation, you'll soon master this technology and enjoy the creative freedom it provides. If you have any further questions or want to share your experiences, feel free to reach out in the comments below. Happy printing!