
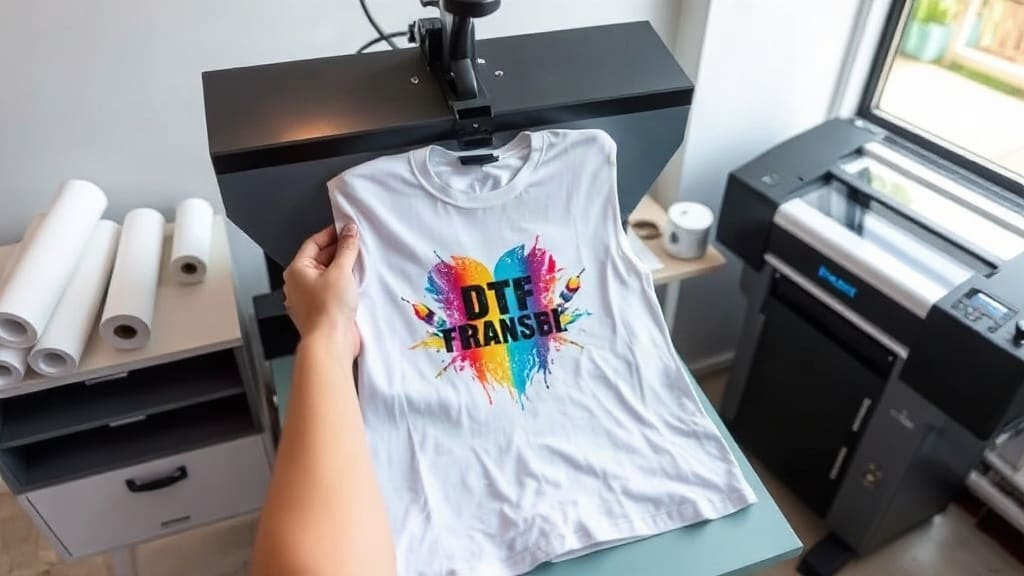
DTF transfers have revolutionized the custom apparel industry, offering a versatile and cost-effective solution for printing vibrant designs on various fabrics. Whether you're a hobbyist or a business owner, understanding this technology can open new opportunities. In this guide, we'll explore everything from the basics to advanced techniques, ensuring you can create stunning prints with confidence.
Direct-to-film (DTF) printing involves printing your design onto a special film, applying adhesive powder, and then heat-pressing it onto the garment. Unlike traditional methods, DTF works well on cotton, polyester, blends, and even tricky materials like nylon. This flexibility has made it a favorite among print shops and DIY enthusiasts.
What truly sets DTF transfers apart is their durability and ease of use. You can produce small batches without sacrificing quality, making them ideal for custom orders, promotional items, and personalized gifts. Moreover, the process is straightforward, but mastering it requires attention to detail. In this article, we'll walk you through each step, share pro tips, and answer common questions.
How Do DTF Transfers Work?
At its core, DTF printing is a multi-step process that combines digital printing with heat transfer. First, you print your design in reverse onto a PET film using specialized DTF inks. Then, you apply a hot-melt adhesive powder to the wet ink. The powder sticks only to the printed areas, creating a strong bond when cured. After drying, you store the transfer until you're ready to press it onto a garment.
When applying, you place the film on the fabric with the printed side facing down, apply heat and pressure with a heat press, and peel the film away. The result is a soft, stretchable print that withstands washing and wear. The entire process can be completed in minutes, making it efficient for on-demand production.
Essential Materials for DTF Transfers
To get started, you need the right equipment and supplies. Here's a list of what you'll require:
- DTF printer: Usually an Epson or similar inkjet printer converted for DTF inks.
- DTF inks: CMYK plus white, as white is essential for printing on dark garments.
- PET film: Specially coated to hold the ink and release smoothly.
- Hot-melt adhesive powder: Fine powder that activates under heat.
- Heat press: A clamshell or swing-away press with adjustable pressure and temperature.
- Shake and cure oven (optional but recommended): For consistent powder adhesion.
Investing in quality materials ensures vibrant colors and durable prints. While startup costs can be high, the per-print cost is low, making it profitable for small businesses.
Step-by-Step Guide to Making DTF Transfers
Step 1: Design Your Artwork
Create or source a high-resolution design. Remember that white ink will be printed as an underbase for dark fabrics, so ensure your design has no transparency issues. Use vector files or high-DPI PNGs for best results.
Step 2: Print on Film
Load the PET film into your printer with the printable side facing up. Set your printer to the correct media type and print in mirror mode (reverse). The white ink should be printed for areas that need to be opaque, especially on dark shirts. Most DTF printers have white ink channels that automatically print underbase when you enable it in the RIP software.
Step 3: Apply Adhesive Powder
Immediately after printing, while the ink is still wet, cover the printed area with adhesive powder. You can use a shaker or a powder applicator. Ensure even coverage, then tap off the excess. The powder should stick only to the ink; if it sticks to the film, you may need to adjust your powder or humidity conditions.
Step 4: Cure the Powder
Heat the transfer to melt the powder and bind it to the ink. This can be done with a heat press at a low temperature (around 100°C) for a few seconds, or with a specialized curing oven. The goal is to melt the adhesive evenly without overheating the film.
Step 5: Store or Apply
Once cured, the transfer is ready to use. You can store it in a cool, dry place for later. When you're ready, place it on your garment and press with a heat press at about 160-170°C for 10-15 seconds with medium to firm pressure. Peel the film while it's still warm or cold, depending on the film type; some prefer hot peel for better release.
Tips for Perfect DTF Transfers Every Time
Achieving consistent results requires practice and attention to detail. Here are some tips to improve your outcomes:
- Maintain proper temperature and pressure: Too low and the transfer won't adhere; too high and the design may crack or bleed.
- Use a Teflon sheet: Protect your heat press platen and the transfer with a non-stick sheet.
- Pre-press your garment: Remove moisture and wrinkles before applying the transfer.
- Test on scraps: Always test on a sample fabric to adjust settings before mass production.
- Keep your printer clean: Regular maintenance prevents banding and ensures consistent ink flow.
- Choose the right film: High-quality film reduces curling and improves release.
Common Mistakes to Avoid
Beginners often make similar errors. Being aware of them can save you time and money.
- Skipping the pre-press: This can cause poor adhesion due to moisture in the fabric.
- Using too much or too little adhesive powder: Both lead to cracking or washing out.
- Incorrect peeling temperature: Always follow the manufacturer's recommendation for hot or cold peel.
- Not curing the powder properly: Under-curing results in weak bond, while over-curing can cause ink to spread.
- Ignoring print resolution: Low-resolution images look pixelated after transfer.
DTF vs. Other Printing Methods
How do DTF transfers stack up against alternatives? Let's compare:
- DTG (Direct-to-Garment): DTG is excellent for highly detailed prints on cotton, but it's slower and more expensive for small runs. DTF offers faster production and works on more fabrics.
- Screen Printing: Screen printing is cost-effective for large quantities but requires significant setup. DTF is perfect for low-volume orders and multicolor designs without setup fees.
- Vinyl Heat Transfer: Vinyl is limited to flat colors and is less stretchable. DTF provides full-color, soft prints that are more durable.
For small businesses, DTF offers a balanced solution: low upfront investment, quick turnaround, and outstanding quality. It's especially beneficial for print-on-demand services.
Applications of DTF Transfers
The versatility of DTF transfers makes them suitable for various products:
- T-shirts, hoodies, and sweatshirts
- Polo shirts and uniforms
- Tote bags and backpacks
- Hats and caps (with special attachments)
- Sports jerseys and performance wear
- Home decor like pillows and towels
Because DTF prints can stretch without cracking, they're ideal for activewear. The soft hand feel makes them comfortable for everyday clothing.
Cost Considerations and ROI
Starting a DTF operation involves initial equipment costs, but the ongoing expenses are manageable. A basic setup can range from $1,000 to $5,000, including printer, film, inks, powder, and heat press. Per-print cost is around $0.50 to $1.50 for a standard shirt, depending on size and coverage. If you're selling custom shirts at $20 or more, your profit margins are substantial.
For those who don't want to invest in equipment, many companies offer ready-made DTF transfers that you can purchase and press yourself. This is a great entry point for testing the market.
Frequently Asked Questions
What fabrics work best with DTF transfers?
DTF transfers work on almost any fabric, including cotton, polyester, blends, nylon, and leather. However, for best results, use fabrics with a smooth surface. Highly textured materials like burlap may not yield crisp details.
How do I wash garments with DTF prints?
To extend the life of your prints, turn the garment inside out before washing. Use cold water and a gentle cycle, and avoid bleach. Tumble dry on low or hang dry. Avoid ironing directly on the print; if needed, use a pressing cloth.
Can DTF transfers be used on dark shirts?
Yes, that's one of the biggest advantages. The white ink underbase ensures that colors remain vivid on dark fabrics. Make sure your printer has white ink capability and proper RIP settings.
Is DTF printing eco-friendly?
DTF inks are water-based and more eco-friendly than plastisol used in screen printing. However, the film and powder are not biodegradable, so proper disposal is important. Some manufacturers offer recyclable films.
How long do DTF prints last?
With proper application and care, DTF prints can last for many washes, often over 50 wash cycles without significant fading or cracking. The key is to use quality materials and follow recommended pressing guidelines.
Conclusion
DTF transfers are a game-changer in the custom apparel industry. They offer flexibility, quality, and cost-effectiveness that appeal to both beginners and seasoned printers. By understanding the process, investing in the right equipment, and following best practices, you can produce professional-grade prints that meet customer expectations.
Whether you're starting a side hustle or expanding your existing business, mastering DTF transfers will undoubtedly give you a competitive edge. So, gather your materials, practice your technique, and bring your creative visions to life. The possibilities are endless.