
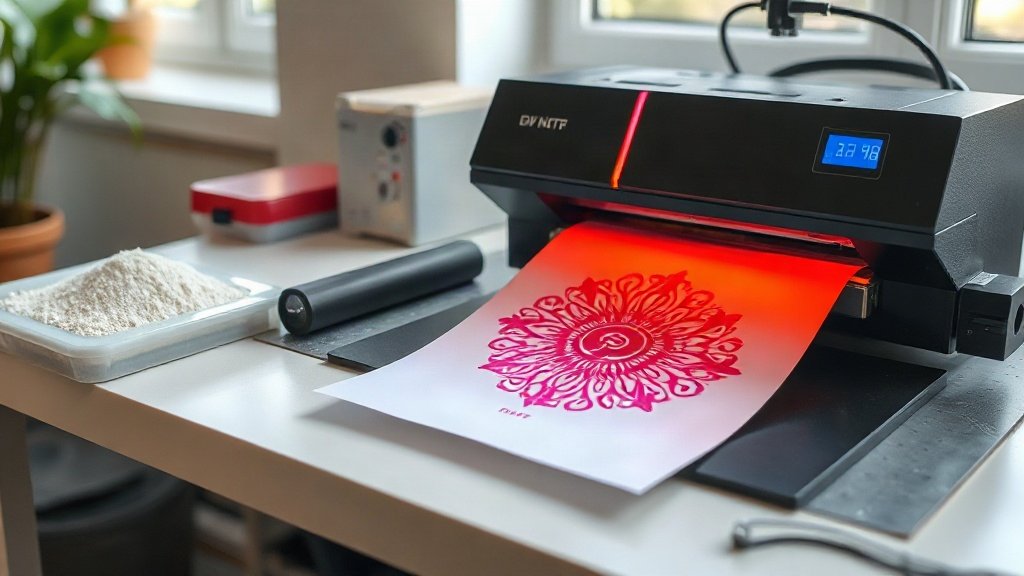
If you've been exploring custom apparel decoration, you've likely encountered DTF printing. Short for Direct-to-Film, this technology has rapidly gained popularity among crafters, small business owners, and professional printers alike. Unlike traditional methods that require specific fabric types or extensive setup, DTF printing offers a versatile, cost-effective solution for transferring detailed designs onto a wide range of materials. In this guide, we'll walk you through everything you need to know to get started with DTF printing, from the basic principles to advanced tips for flawless results.
What is DTF Printing?
DTF printing is a digital printing technique where your design is printed onto a special film, coated with a adhesive powder, and then heat-pressed onto the fabric. The process eliminates the need for weeding, layering, or pre-treating garments, making it faster and more accessible than some other methods. The key advantage is that DTF transfers can be applied to almost any fabric: cotton, polyester, blends, leather, and even nylon. This flexibility opens up creative possibilities that were previously difficult or impossible with vinyl or DTG printing.
How Does DTF Printing Work?
The DTF printing process involves several steps, each crucial to achieving a durable, vibrant transfer. Here's a breakdown of the workflow:
- Design Preparation: Create your artwork in a graphics program, ensuring it's mirrored if necessary. DTF printers use CMYK plus white ink, so colors should be set accordingly.
- Printing: The design is printed onto a PET film. First, a layer of white ink is applied as a base, followed by the color layers. This white base ensures opacity on dark fabrics.
- Powder Application: While the ink is still wet, a thermoplastic powder is sprinkled over the print. The powder sticks to the wet ink and is then shaken off excess.
- Curing: The film passes through a heat source (often a oven or heat press) to melt the powder, creating a flexible, adhesive layer.
- Transfer: The cured film is placed on the garment and heat-pressed. The adhesive melts, bonding the design to the fabric. After cooling, the film is peeled away, leaving the design behind.
Benefits of DTF Printing
Why choose DTF over other decoration methods? Here are some compelling reasons:
- Fabric Versatility: Works on cotton, polyester, blends, and even treated leather.
- No Weeding: Unlike vinyl, there's no tedious cutting and weeding of small details.
- Vibrant Colors: The white ink base allows bright, opaque colors on dark garments.
- Durability: When applied correctly, DTF transfers withstand repeated washing without cracking or fading.
- Cost-Effective for Short Runs: No screens or plates needed, making it ideal for small batches and personalized items.
Equipment and Supplies Needed
To start DTF printing, you'll need the following:
- DTF Printer: A dedicated printer with white ink capability, such as those from Epson or Roland.
- DTF Film: Special PET film designed for DTF printing.
- DTF Powder: Thermoplastic adhesive powder.
- Heat Press: For both curing the powder and transferring to garments.
- RIP Software: To manage color profiles and white ink layers.
- Design Software: Photoshop, Illustrator, or similar.
Step-by-Step DTF Printing Process
1. Design Your Artwork
Start with high-resolution artwork (300 DPI). Remember that DTF prints are opaque, so you can use white and light colors on dark backgrounds. Mirror the design if your printer requires it.
2. Print the Design
Load the DTF film into your printer. Ensure the printer is set to print white ink first (if your model supports it). Print the design onto the matte side of the film.
3. Apply Powder
While the ink is wet, generously sprinkle DTF powder over the print. Tilt the film to shake off excess powder. You want an even coating without clumps.
4. Cure the Powder
Place the film in a curing oven or under a heat press (without pressure) at around 320°F (160°C) for 2-3 minutes, or until the powder melts and becomes glossy. Alternatively, use a heat press with low pressure for 30-60 seconds.
5. Transfer to Garment
Preheat your heat press to 325°F (163°C) with medium pressure. Place the cured film on the garment, cover with a Teflon sheet, and press for 15-20 seconds. Remove the garment and let it cool completely before peeling the film. Peel slowly at a low angle.
Tips for Perfect DTF Transfers
- Test Your Settings: Every heat press varies; run tests to find the ideal time, temperature, and pressure.
- Use Quality Supplies: Cheap film or powder can lead to poor adhesion and durability.
- Store Film Properly: Keep unused film in a cool, dry place to prevent moisture absorption.
- Pre-Press Garments: Remove wrinkles and moisture before transferring.
- Cool Before Peeling: Peeling hot can cause the design to stretch or smear.
Common DTF Printing Mistakes to Avoid
Even experienced printers can run into issues. Watch out for these pitfalls:
- Insufficient Powder: Not enough powder means poor adhesion; too much causes a rough texture.
- Under-Curing: If the powder isn't fully melted, the transfer won't bond properly.
- Over-Pressing: Too much heat or pressure can scorch the fabric or cause the design to spread.
- Wrong Film Side: Printing on the wrong side of the film will ruin the transfer.
Frequently Asked Questions
Can DTF printing be used on dark garments?
Absolutely. DTF printing uses a white ink base that allows vibrant colors to show up on dark fabrics. The white layer acts as a primer, ensuring opacity and brightness.
How durable are DTF transfers?
When applied correctly, DTF transfers are highly durable. They can withstand 50+ washes if you follow care instructions: wash inside out in cold water, avoid bleach, and tumble dry low or hang dry.
What fabrics work best with DTF printing?
DTF printing adheres well to cotton, polyester, blends, and even leather and nylon. It's one of the most versatile methods available.
Do I need a special printer for DTF?
Yes, you need a printer that supports white ink and is designed for DTF printing. Many popular models are modified Epson printers, but dedicated DTF printers are also available.
How do I store DTF film and powder?
Store film in a cool, dry place away from direct sunlight. Powder should be kept in an airtight container to prevent moisture clumping.
Conclusion
DTF printing is a game-changer for anyone in the custom apparel industry. Its versatility, durability, and ease of use make it an excellent choice for both beginners and professionals. By following the steps outlined in this guide and practicing with different fabrics and settings, you'll be able to produce high-quality transfers that impress your customers. Remember, the key to success lies in attention to detail and using quality supplies. So why not give DTF printing a try? Your creativity is the only limit.