
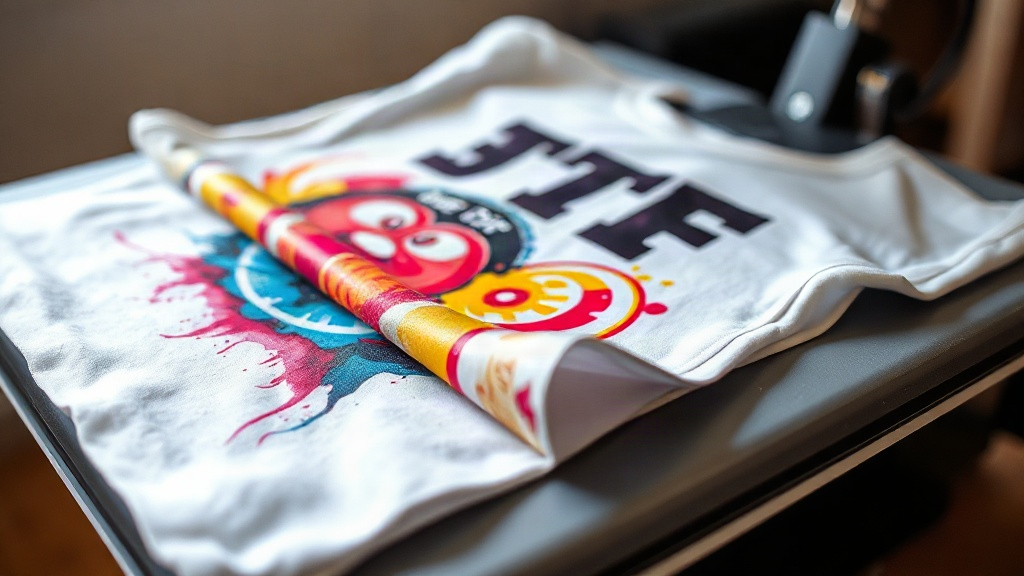
When you first hear about DTF printing, it might sound like just another trendy acronym in the garment decoration world. But spend an afternoon with a heat press and a roll of transfer film, and you quickly realize this method solves problems that have frustrated screen printers and vinyl cutters for years. Whether you are decorating cotton tees, polyester hoodies, or blend fabrics, DTF offers a level of detail and stretch that feels almost unfair to traditional methods.
I still remember my first DTF transfer: a full-color logo on a navy cotton shirt. The colors popped, the edges were crisp, and after a dozen washes, it still looked fresh. That experience sent me down a rabbit hole of testing films, powders, and press settings. This guide shares what I have learned so you can skip the frustration and get straight to producing quality transfers.
What Exactly Is DTF Printing?
DTF stands for Direct to Film. The process involves printing your design onto a special PET film using a modified inkjet printer. After printing, a thermoplastic powder (often called hot melt adhesive) is applied to the wet ink. This powder sticks only to the printed areas. Once the powder is cured, you have a transfer that can be stored and later applied to fabric with a heat press.
The magic lies in the adhesive powder. It creates a strong bond with the fabric fibers when heated, allowing the transfer to stretch and move with the garment. Unlike vinyl, DTF transfers can handle intricate details, gradients, and photorealistic images without weeding or layering.
Why It Stands Out from Other Methods
Screen printing is fantastic for large runs, but it requires separate screens for each color and struggles with fine details. Vinyl cutting is great for simple shapes but cannot reproduce complex artwork without labor-intensive layering. DTF bridges the gap: it handles full-color designs in one pass, works on almost any fabric, and requires no weeding. For small businesses and hobbyists, that flexibility is a game-changer.
Step-by-Step: How to Create a DTF Transfer
Getting a perfect transfer starts long before you touch the heat press. Here is the workflow I follow, refined through plenty of trial and error.
1. Prepare Your Artwork
Start with a high-resolution file, ideally 300 DPI at the final print size. Vector files are great, but DTF printers rasterize them anyway, so a clean PNG with a transparent background works just as well. Remember that the printer uses CMYK inks, so convert RGB colors to CMYK to avoid surprises. Also, add a white underbase layer if your design has light colors on dark fabric. Most RIP software handles this automatically, but it is worth checking.
2. Print on Film
Load your PET film into the printer with the coated side facing the print head. The coated side is usually slightly matte; if you are unsure, breathe on it: the coated side will fog up. Set your printer to the correct profile for DTF film and ink. Print quality settings matter, so do not rush this step. A good print will look vibrant but slightly wet.
3. Apply Adhesive Powder
While the ink is still wet, sprinkle the hot melt powder evenly over the print. You can use a shaker bottle or an automatic powder applicator. Gently tilt the film to let excess powder fall off, then tap the back to remove any clumps. The goal is a thin, even coating that sticks only to the ink.
4. Cure the Powder
Place the film in a curing oven or under a heat source at around 160°C (320°F) for 2-3 minutes. The powder will melt and become glossy. Do not overdo it; if the film curls or the powder turns brown, you have gone too far. Once cured, the transfer is ready to use or store.
5. Press onto Fabric
Set your heat press to 160°C (320°F) with medium pressure. Pre-press the garment for a few seconds to remove moisture. Place the transfer on the fabric with the printed side up, cover with a protective sheet, and press for 10-15 seconds. Let it cool completely before peeling off the film. For a softer feel, you can press again for a few seconds after peeling.
Common Pitfalls and How to Avoid Them
Even with the best equipment, things can go wrong. Here are the issues I see most often, along with fixes.
- Ink bleeding: Usually caused by too much ink or a wrong printer profile. Reduce ink density and ensure your film is compatible.
- Powder not sticking: The ink may have dried before powder application. Work quickly, or increase humidity in the room.
- Cracking after washing: This often means the powder was under-cured or the press pressure was too low. Increase curing time or pressure.
- Dull colors: Could be due to low-quality ink or printing on the wrong side of the film. Always use the coated side.
Choosing the Right Supplies for DTF
Not all films and powders are created equal. For consistent results, look for films with a reliable coating that releases cleanly. Powders should have a fine, consistent particle size; coarse powders can leave a gritty texture. Inks should be specifically formulated for DTF; using regular inkjet ink will clog your print head and produce poor adhesion.
If you are just starting, consider buying a kit that includes film, powder, and ink from the same brand. This takes the guesswork out of compatibility. As you gain experience, you can experiment with different combinations to find what works best for your typical fabrics and designs.
DTF vs. Other Printing Methods: A Quick Comparison
To help you decide when to use DTF, here is how it stacks up against common alternatives.
- Screen printing: Better for large orders of simple designs; DTF wins for complex, multi-color art and small batches.
- Vinyl: Cheaper for one-color text or simple shapes; DTF handles gradients and photos with ease.
- Dye sublimation: Only works on polyester and light colors; DTF adheres to cotton, blends, and even some treated synthetics.
For a shop that offers both, DTF becomes the go-to for custom orders, while screen printing handles bulk basics.
Frequently Asked Questions About DTF Printing
How long do DTF transfers last on a shirt?
With proper application and care, a DTF transfer can last as long as the garment itself. Wash inside out in cold water and avoid harsh detergents. Skip the dryer or use low heat. Following these steps, many users report transfers lasting over 50 washes without significant fading or cracking.
Can I use DTF on 100% cotton and polyester?
Yes, one of the biggest advantages of DTF is its versatility. It adheres well to cotton, polyester, blends, and even some nylon and leather (with testing). The key is adjusting press settings for different fabric thicknesses and heat sensitivities.
What printer do I need for DTF printing?
You can convert many Epson printers, such as the EcoTank series, with DTF ink and a RIP software. Dedicated DTF printers are also available and often yield better results with less tinkering. If you are serious about production, invest in a printer designed for DTF to save time and reduce maintenance.
Do I need a special heat press for DTF?
A standard heat press works fine. You need consistent temperature and pressure, so a press with digital controls is ideal. Some people use a home iron, but the results are unreliable. For professional quality, a heat press is essential.
How should I store unused DTF transfers?
Keep them in a cool, dry place, away from direct sunlight. Place them flat or roll them loosely; avoid folding, which can crack the adhesive. If stored properly, transfers remain usable for several months.